
Thought I would post up a quick tutorial about how I go about making my own homemade flock for figure basing and terrain projects.
I am by no means the first person to do this so I cant claim complete originality with it.
Hopefully you'll be able to find a good use for it.
First things first, you have to get a god source for sawdust...and quite a bit of it. Best bet is to find a local mill/cabinet shop or the like. People that have home wood shops will not have to worry about this part. As I am without my own wood shop, I go with my wife to a craft store that does holiday wood cutouts in bulk. Seems as long as she is in line buying something when I ask for a container of sawdust, they have no problem getting me some for free.
I usually take a big cleaned out coffee can for them to fill.
Once you've got your sawdust. you'll need to decide what color flock you want. I've just gone with green here for simplicity sake but soon I plan to make a rust colored batch for a Dark Age board.
When the color you want is in mind, go buy the cheapest craft paint you can find. You'll want it a bit darker than what you want the end result to be. This is the most expensive part of the entire project. ($2.00 or so)
A good long stirring stick is also a must, I use BBQ skewers but Popsicle sticks or a plastic butter knife should do the trick as well.
 More after the jump!
Make sure you leave yourself plenty of space to work in the can or bucket so you aren't flinging the sawdust all over your house. I usually break up what they give me into two batches so its a little easier to work with.
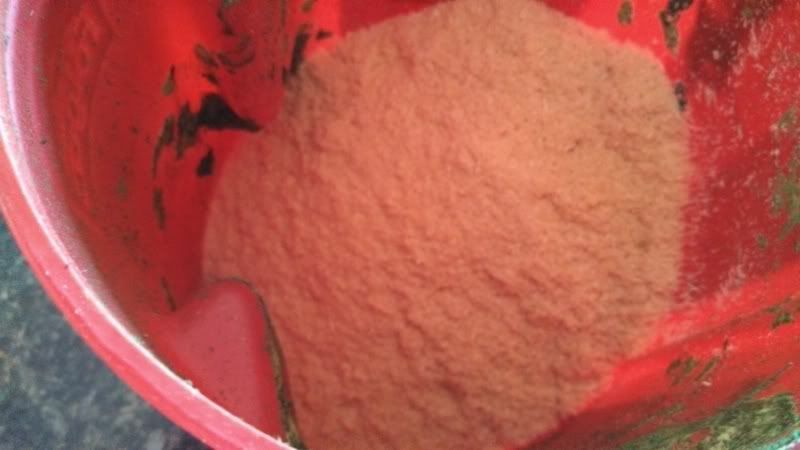
Next step, which I'm sure you've guessed, is to squeeze that entire bottle of paint into the sawdust. I even rinse my paint bottle with some water so I can make sure to get all the available pigment out of it.
Then start mixing. If your mixture is ending up too goopy, simply add some more sawdust to dry it out. If you use a coffee can or similar like I do, you can throw the lid on and really give it a good shake to mix the paint in.
here is just the paint added before mixing began.
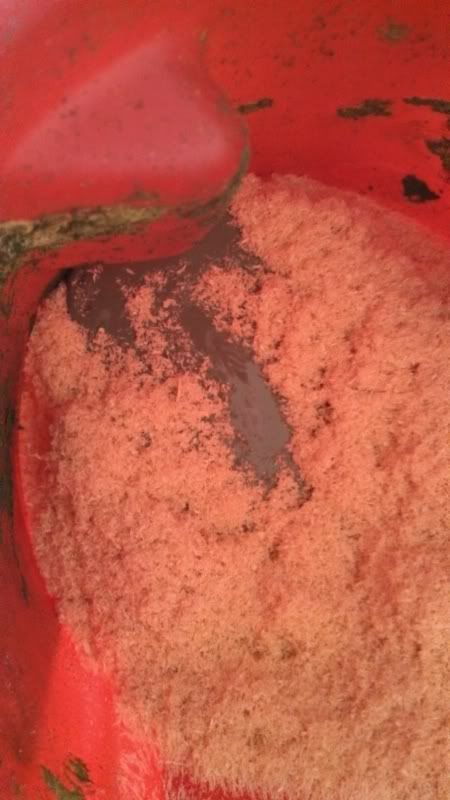 Here is how it looked once I was satisfied with the paint dispersion.
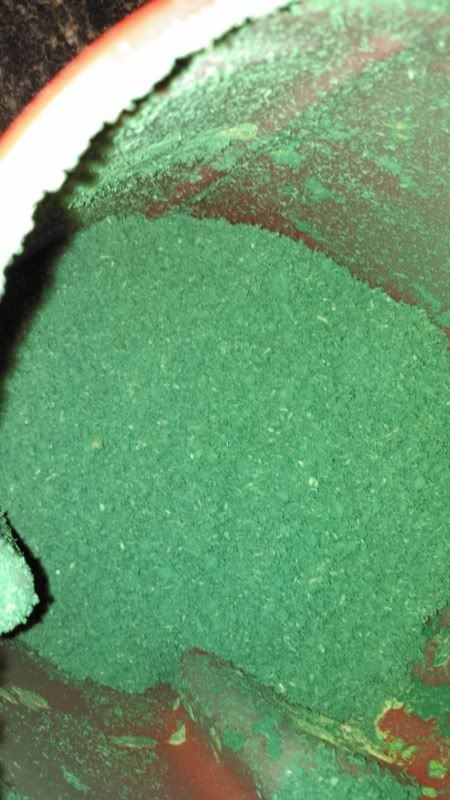
At this point, you'll want to root around in there and crush any of the paint balls that have formed because they will dry hard as a rock and be unusable after that. If you don't get em all, don't worry, the next step will take care of that.
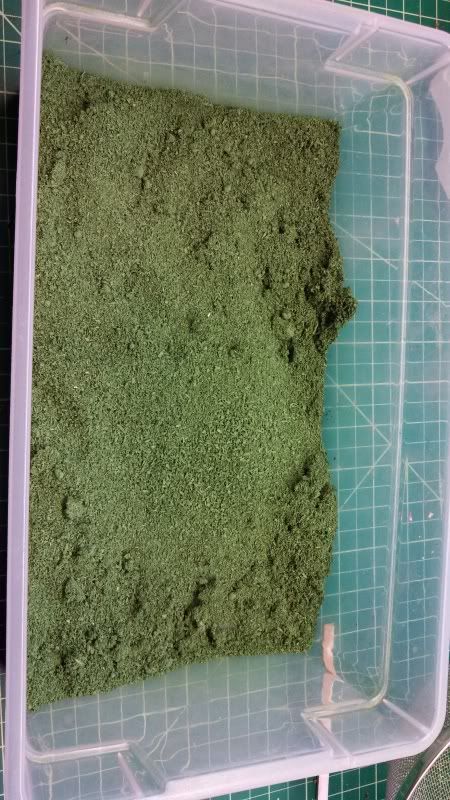
Once I have allowed the mix to dry(which will be at least a day) I start to sift it into a larger, flatter container. A good sealed box or plastic tupperware should work well.
If you steal your wife's or mom's sifter, don't blame me when you get screamed at........I bought a pretty cheap one at a thrift store a while back. Think it cost me a whopping .50 cents!
I just throw out the large harder clumps that have stuck together but you may be able to come up with a use for them. If you do, I would love to hear about it.

After all is said and done you should end up with a good amount of super cheap flock. Easily enough for basing an army or flocking a large terrain set or game board.
Hope you found this helpful and useable. If you try it out, let me know how it worked for you.
Thanks for taking a look.
I am by no means the first person to do this so I cant claim complete originality with it.
Hopefully you'll be able to find a good use for it.
First things first, you have to get a god source for sawdust...and quite a bit of it. Best bet is to find a local mill/cabinet shop or the like. People that have home wood shops will not have to worry about this part. As I am without my own wood shop, I go with my wife to a craft store that does holiday wood cutouts in bulk. Seems as long as she is in line buying something when I ask for a container of sawdust, they have no problem getting me some for free.
I usually take a big cleaned out coffee can for them to fill.
Once you've got your sawdust. you'll need to decide what color flock you want. I've just gone with green here for simplicity sake but soon I plan to make a rust colored batch for a Dark Age board.
When the color you want is in mind, go buy the cheapest craft paint you can find. You'll want it a bit darker than what you want the end result to be. This is the most expensive part of the entire project. ($2.00 or so)
A good long stirring stick is also a must, I use BBQ skewers but Popsicle sticks or a plastic butter knife should do the trick as well.
Make sure you leave yourself plenty of space to work in the can or bucket so you aren't flinging the sawdust all over your house. I usually break up what they give me into two batches so its a little easier to work with.
Next step, which I'm sure you've guessed, is to squeeze that entire bottle of paint into the sawdust. I even rinse my paint bottle with some water so I can make sure to get all the available pigment out of it.
Then start mixing. If your mixture is ending up too goopy, simply add some more sawdust to dry it out. If you use a coffee can or similar like I do, you can throw the lid on and really give it a good shake to mix the paint in.
here is just the paint added before mixing began.
At this point, you'll want to root around in there and crush any of the paint balls that have formed because they will dry hard as a rock and be unusable after that. If you don't get em all, don't worry, the next step will take care of that.
Once I have allowed the mix to dry(which will be at least a day) I start to sift it into a larger, flatter container. A good sealed box or plastic tupperware should work well.
If you steal your wife's or mom's sifter, don't blame me when you get screamed at........I bought a pretty cheap one at a thrift store a while back. Think it cost me a whopping .50 cents!
I just throw out the large harder clumps that have stuck together but you may be able to come up with a use for them. If you do, I would love to hear about it.
After all is said and done you should end up with a good amount of super cheap flock. Easily enough for basing an army or flocking a large terrain set or game board.
Hope you found this helpful and useable. If you try it out, let me know how it worked for you.
Thanks for taking a look.